Your cart is currently empty!
Setup
- Press the Power-On button (o) then release, while holding down the (+) and not letting go of (+) until a few seconds after Power button (o) is released. The KEGEPRO v1 Speaker should then say “WiFi Network Configure Mode”. You now have a few minutes to complete the setup until it auto shuts down.
- The KEGEPRO v1 Speaker is now in WiFi setup mode, acting as a temporary WiFi access point so that you can feed it your own WiFi access point name and password. For this part you will need a phone, tablet, or laptop with WiFi capability. Search for the access point named KEGEPRO_AP in your list of available WiFi in your phone’s connections setup, then connect to it. There won’t be any internet. The password for KEGEPRO_AP is a random eight-digit password that is spoken through the speaker on repeat when in this mode.
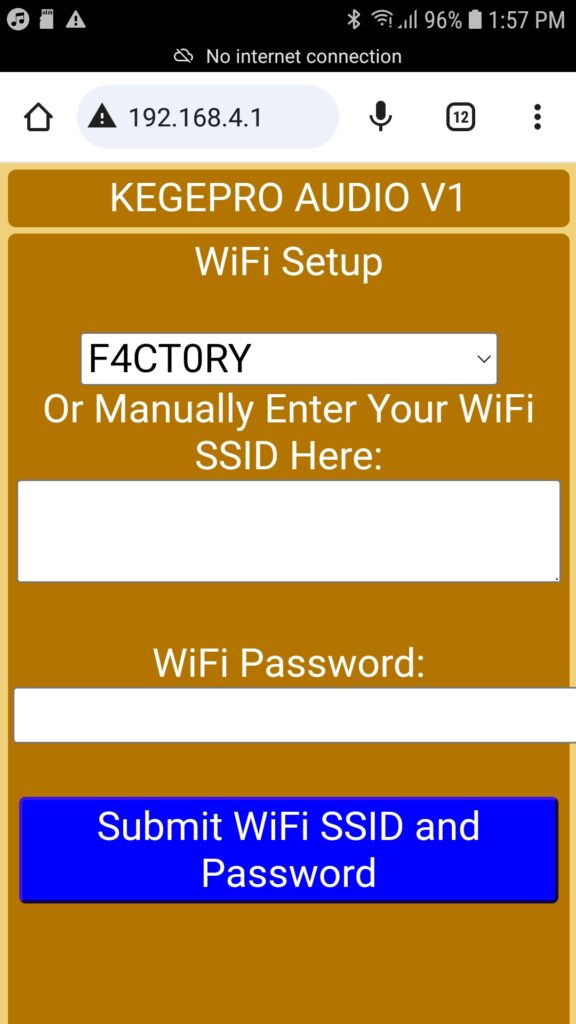
- Use your phone’s/tablet’s/laptop’s web browser to connect to the local website named 192.168.4.1. This should bring you to the KEGEPRO WiFi setup page.

- Either choose your own WiFi’s access point name from the drop-down list, or type it in manually.
- Type in your WiFi network’s password
- Click the large blue button that reads “Submit WiFi SSID and Password”.
- Once the page refreshes and reads “successfully submitted”, turn the KEGEPRO v1 Speaker off by holding down the Power button (o) for at least one second and then let go.
- Turn the KEGEPRO v1 Speaker back on by pressing the Power button (o) and then letting go. To turn it on, it does not matter how long you hold in the Power button (o).
- You now have access to all of the stations by clicking the (o) button quickly for channel up, and by pressing the (M) button quickly for channel down. It would however be tedious to go through all of the channels this way, so it is recommended to use the embedded web interface / webserver offered locally by the KEGEPRO v1 Speaker. To access the local web server, you need to know the Speaker’s local network address (usually something like 192.168.0.X or 10.0.0.X). You can find this by holding down the (M) button for at least a second to enter WiFi signal strength mode (it will say “WiFi mode” through the speaker), then hold down the (M) button again for at least a second to enter Network choice mode (it will say “Network mode” through the speaker), and then hold down the (M) button once again for a second to enter IP address mode (the speaker will repeatedly call out the IP address of itself.) Write this down on a piece of paper. Hold down the (M) button for at least a second once again to go back into Station Mode.
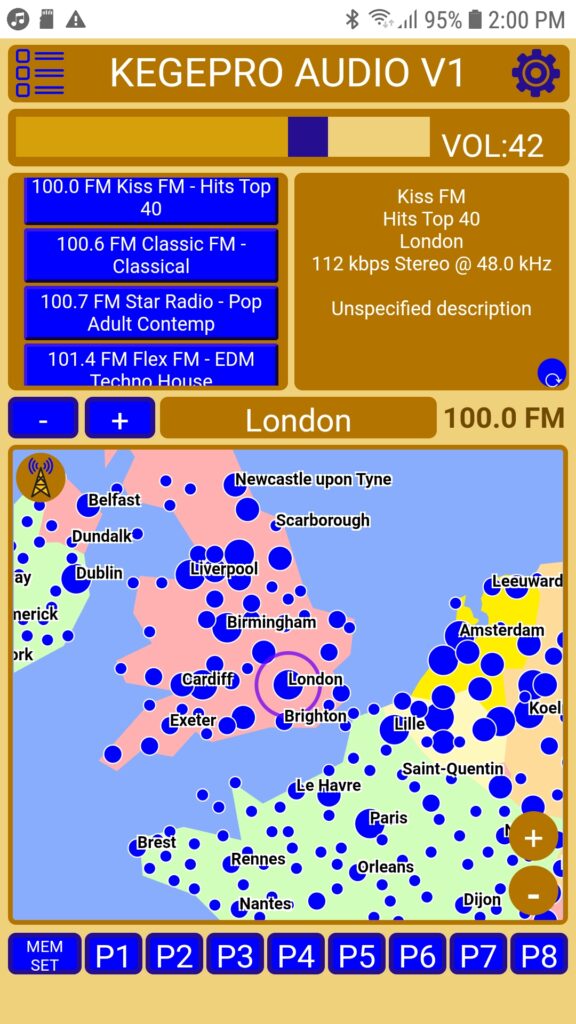
- Now that you know the IP address of your KEGEPRO v1 Speaker, which will not change if you leave it connected to the WiFi network it has been set up on, you can type that into any browser connected to the same local area network (ie your home network) which can be a desktop computer without WiFi or a phone, laptop, or tablet with WiFi. You should see a screen like this:

- Congratulations! If you got this far then you’ve completed the basic setup. The local network webserver has many features to allow you to find stations or podcasts that you like and then to add them to your eight presets which can be cycled by pressing the plus button (+) for at least a second or the minus button (-) for at least a second.